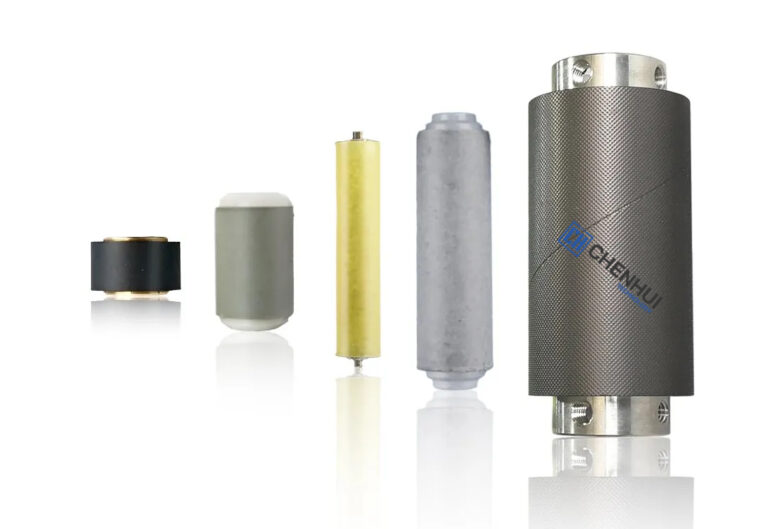
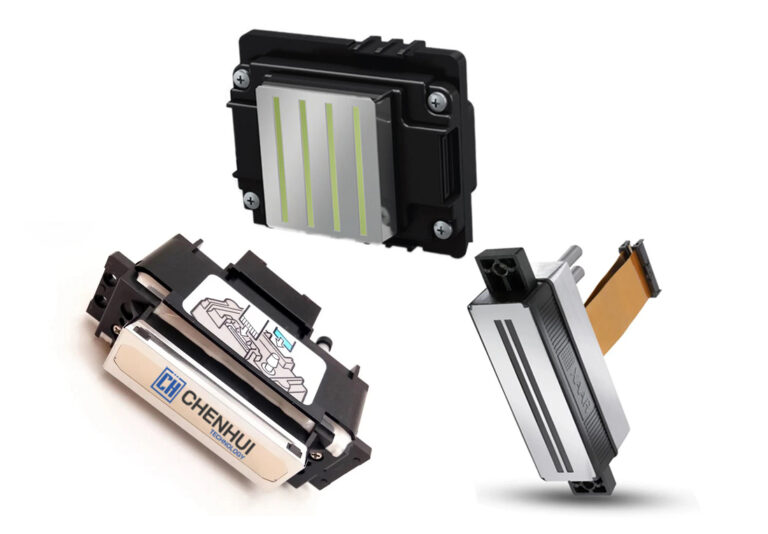
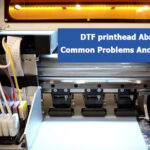
I3200 Printhead clogging is a common problem for inkjet printers, especially after long periods of inactivity. Cleaning the Epson I3200 printhead properly is crucial to maintaining print quality, preventing clogging, and extending the printhead’s lifespan. This article introduces some practical cleaning methods and provides users with some solutions when encountering problems.

Simple cleaning
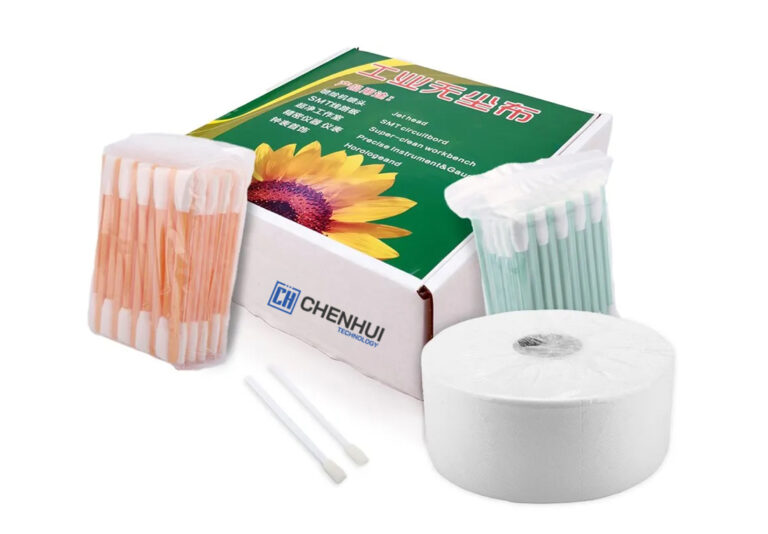
(1) Preparation: soft brush, cleaning fluid (special printer cleaning fluid).
(2) Clean the outside of the nozzle: Use a soft brush dipped in cleaning fluid to gently wipe the nozzle surface to remove adhered ink.
This method is suitable for daily maintenance and simple cleaning of the printhead.
Automatic cleaning (for printers that support automatic cleaning)
(1) Turn on the printer power: After connecting the power supply, turn on the printer and make sure the printer starts normally.
(2) Select the cleaning function: Find the “Nozzle Cleaning” or “Automatic Cleaning” function in the printer’s control panel or printer driver software.
(3) Add nozzle cleaning fluid: If the cleaning fluid needs to be added manually, open the cleaning fluid inlet and pour the cleaning fluid in the specified amount. If it comes with the nozzle cleaning device, add it according to the program.
(4) Perform automatic cleaning: Start the automatic cleaning function, and the printer will perform cleaning according to the set program.
(5) Check the cleaning effect: After the cleaning is completed, the printer will usually print a test page to check whether the nozzle has returned to normal.
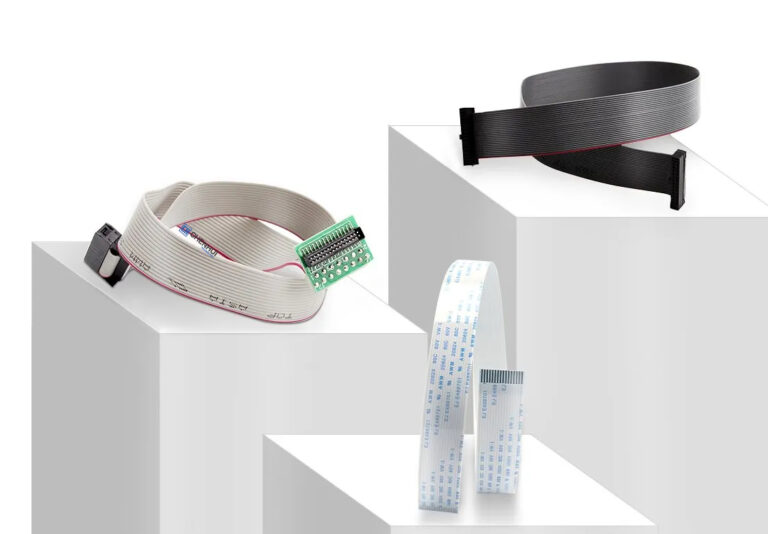
Syringe flushing method
(1) Prepare the necessary tools:
syringe, cleaning fluid, hose or connecting tube, cotton swab or non-woven fabric
(2) Connect the syringe and nozzle:
Connect one end of the hose or connecting tube to the syringe and the other end to the cleaning port or ink channel of the nozzle. Make sure the connection is tight to avoid leakage of the cleaning fluid. Draw an appropriate amount of cleaning fluid into the syringe
(3) Inject cleaning fluid:
Slowly push the piston of the syringe and gently push the cleaning fluid into the ink channel of the nozzle. When injecting the cleaning fluid, be careful to apply uniform pressure to avoid excessive pushing and damaging the nozzle.
(4) Clean the nozzle:
After injecting the cleaning fluid, you can use a cotton swab or non-woven fabric to wipe the nozzle surface to remove possible dirt or ink residue. If the nozzle is very dirty, you can repeat the steps of injecting cleaning fluid until there is no ink residue in the cleaning fluid.
Immersion method
(1) Disassemble the nozzle:
If the printer supports disassembly of the printing printhead, you can disassemble the nozzle according to the printer manual.
(2) Soak the nozzle:
Pour the nozzle cleaning liquid into the container and make sure that the liquid just covers the nozzle. Be careful not to use too much cleaning liquid and avoid contact with the circuit board. It can usually be soaked for 15 minutes to 1 hour.
(3) Clean the nozzle:
Use a soft cloth or cotton swab to dip the cleaning liquid and gently wipe the nozzle area of the nozzle.
(4) Rinse the nozzle:
After soaking and wiping, gently rinse the nozzle with clean water to ensure that the cleaning liquid and ink residue are completely removed.
(5) Reinstall the nozzle and check the cleaning effect:
After cleaning, reinstall the nozzle back to the printer and perform a print test.